
Many manufacturers still treat mold life as a guarantee stamped on a quote sheet. That assumption creates real risk: unplanned downtime, dimensional drift that fails inspection, cosmetic defects that trigger customer rejections, scrap costs, and a scramble to build replacement tooling under deadline pressure.
This article takes a lifecycle approach instead. You'll learn how to estimate expected service life, maintain a tool based on actual evidence, catch deterioration before it hits your line, and plan repair or replacement before a failure disrupts production.
Key Takeaways
- Mold class and material set a starting estimate, but resin severity, geometry, and maintenance determine actual life.
- Track shot counts, defects, repairs, and component swaps for every tool — not just the ones giving you trouble.
- Weigh repair versus replacement against part quality, remaining demand, downtime risk, and backup tooling availability.
- Verify the mold class, resin, and operating assumptions behind any cycle-count benchmark before you cite it internally.
What Determines Injection Mold Lifespan?
Mold lifespan means the number of cycles a tool produces parts within specification — not the point where it physically seizes up. A mold can still "run" long after it stops making acceptable parts.
Mold Classes Set Expectations, Not Guarantees
The SPI classification system gives a rough starting point for different production volumes:
| Mold Class | Intended Volume | Listed Production Cycles |
|---|---|---|
| 101 | High | Over 1 million |
| 102 | Medium to high | 500,000 to 1 million |
| 103 | Medium | Under 500,000 |
| 104 | Low | Fewer than 100,000 |
| 105 | Prototype | Fewer than 500 |

These figures come from Fictiv's SPI-based classification guide, and they describe design intent, not a guarantee for any individual tool.
Steel vs. Aluminum: Trade-Offs That Matter
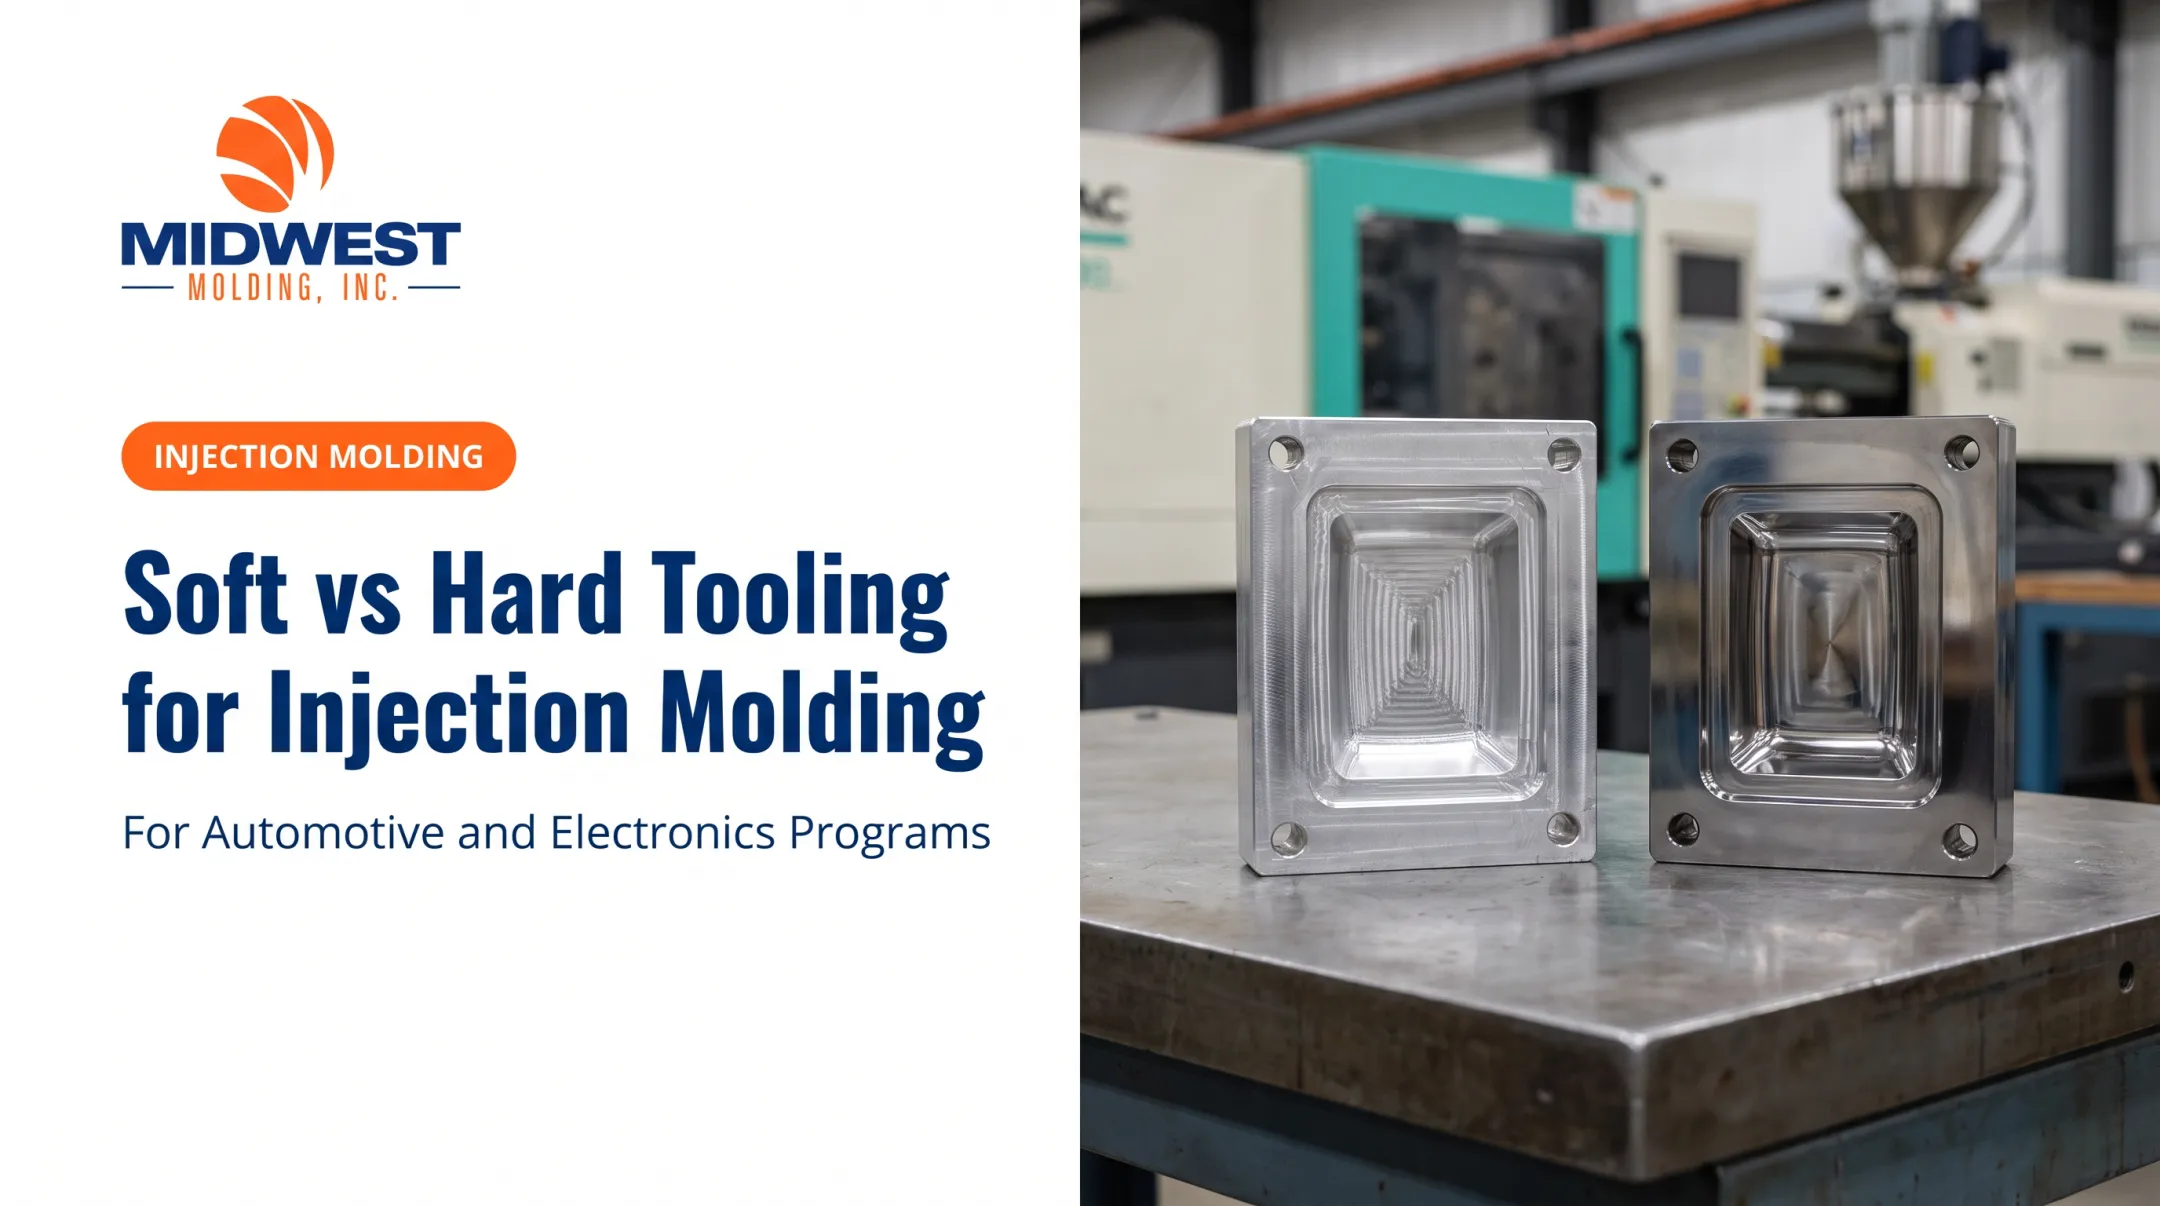
Aluminum machines faster and costs less upfront, but it wears faster too. Steel costs more to cut and takes longer to build, yet it holds up far longer under high-volume or abrasive conditions.
- Aluminum tooling: Faster to machine, lower upfront cost, typically rated for 10,000 or more cycles depending on material and geometry
- Steel tooling: Higher cost and build time, but longevity runs into the millions of cycles and handles high-temperature resins like PEEK or Ultem better
This comparison reflects Protolabs' aluminum vs. steel tooling guidance. The right choice depends on your volume and resin, not a blanket rule.
How Resin Chemistry Accelerates Wear
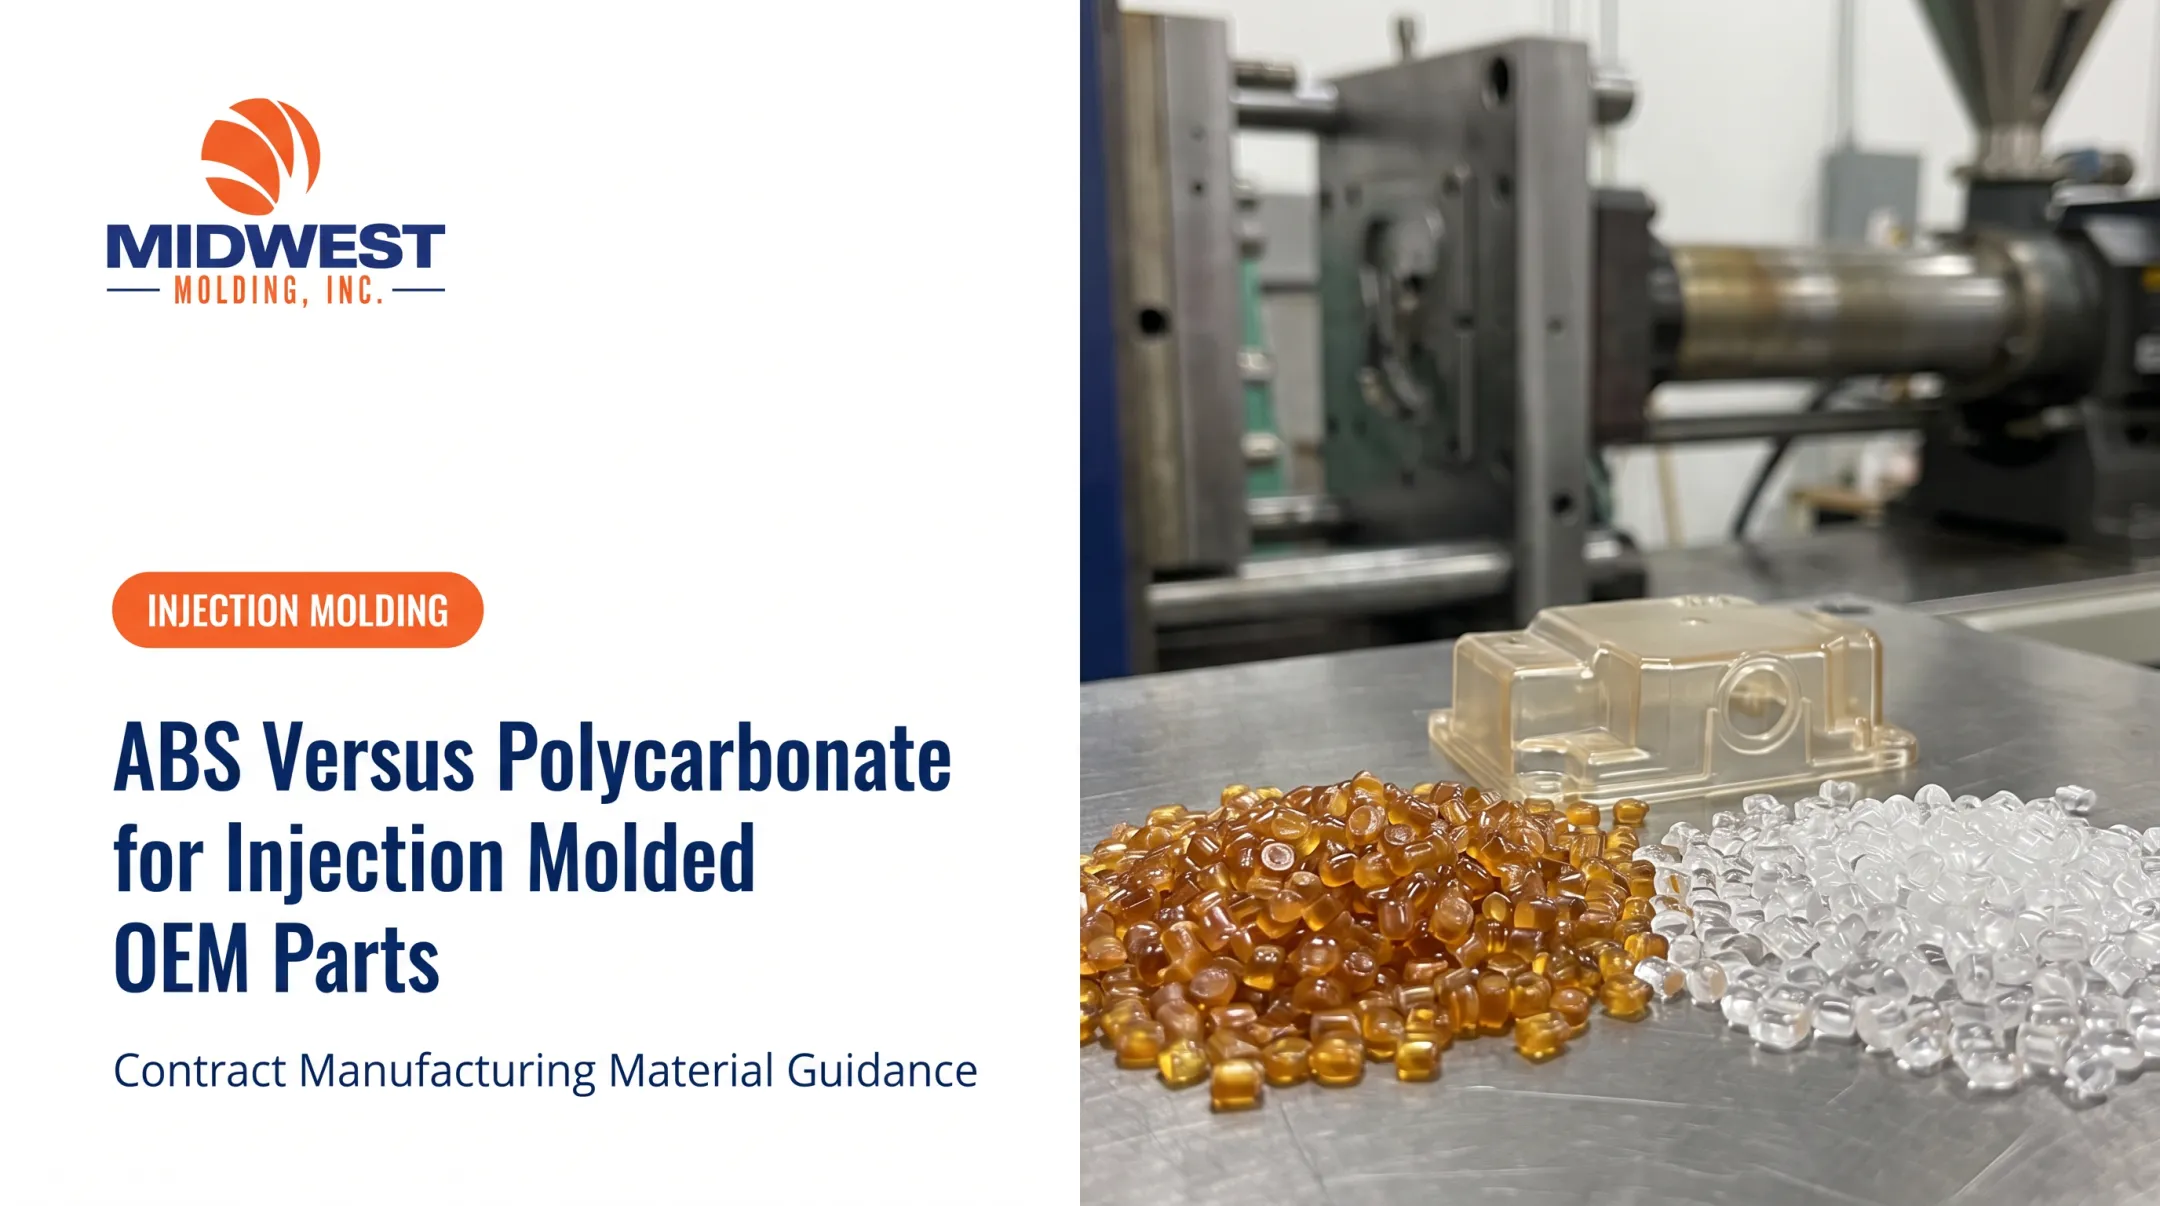
Glass-filled and mineral-filled resins act like sandpaper against cavity surfaces. PVC processing can release hydrochloric acid as a byproduct, corroding unprotected steel over time. According to Uddeholm's mold steel handbook, reinforced plastics are inherently abrasive, and tool steel selection should match the specific resin, filler content, and expected run length.
Mold design also drives wear independent of material. Stress on the tool comes from factors such as:
- Parting-line alignment
- Slide and lifter fit
- Gate and vent geometry
- Clamp tonnage and ejection stroke
Track shots, resin lots, cycle conditions, defects, and component changes from day one. That history is what actually tells you how much life is left, not a generic benchmark.
How Preventive Maintenance Extends Mold Life
Waiting for a mold to fail in the press almost always costs more than catching the problem early. A cracked insert discovered mid-run means an emergency shutdown; the same crack caught during a scheduled inspection means a planned repair.
Maintenance Levels: From Daily Checks to Full Rebuilds
Maintenance is layered by frequency and depth, not run on one universal schedule:
- In-press checks: quick visual inspection and cleaning between runs
- Post-run cleaning: removing residue before storage
- Planned inspections: scheduled checks at known cycle intervals
- Periodic disassembly: pulling slides and moving components for closer review
- Condition-based servicing: triggered by actual wear findings, not the calendar

This tiered approach mirrors how MGS structures its mold maintenance program, moving from quick in-press checks to full out-of-press preventive work.
Critical Inspection Points
Every inspection should cover the same core areas:
- Cavity and core surfaces for pitting, gloss loss, or buildup
- Parting lines, vents, gates, and runners for residue and wear
- Slides, lifters, and ejector pins for binding or galling
- Hot-runner components, cooling channels, seals, and wear plates
Cleaning, Lubrication, and Cooling-Channel Care
Use cleaning methods matched to the steel, coating, and resin. Abrasive pads, incorrect lubricants, and trapped moisture do more damage than the resin ever would.
Cooling channels deserve particular attention. Scale and corrosion inside channels insulate the walls, slow heat transfer, and stretch cycle time, a problem documented in Plastics Technology's cycle-time analysis. Check flow rates periodically rather than waiting for a visible temperature problem.
Document every service event: date, shot count, technician observations, parts replaced, measurements, and photos where useful. That record becomes your evidence base for warranty conversations, budget planning, and the repair-or-replace decision down the road.
Signs an Injection Mold Is Approaching the End of Its Useful Life
Molds rarely fail without warning. The signs usually show up in part quality first, then in the mechanics of the tool itself.
Quality Red Flags
- Recurring flash at the parting line or around ejector pins
- Dimensional drift across repeated production runs
- Sticking parts or inconsistent ejection
- Short shots, burn marks, or sink marks that weren't there before
- Increasing cosmetic variation between cavities
Mechanical Warning Signs
- Unusual noise during the clamp or ejection stroke
- Binding slides or visibly worn guide components
- Damaged or bent ejector pins
- Rising clamp-force requirements to hold the same part
- Leaking cooling lines or unstable hot-runner temperatures
Mold Problem or Process Problem?
Before authorizing major tooling work, rule out other causes. Flash, for example, can come from worn tooling or from insufficient clamp tonnage and process drift. Plastics Technology's clamp pressure analysis notes both mechanisms produce similar symptoms. Confirm resin condition, machine calibration, and process settings first.

Escalate to a documented tooling assessment when:
- Defects return after process adjustments
- Repairs are becoming frequent
- Replacement components are hard to source
- Remaining demand exceeds what the tool has proven it can handle
How to Plan for Mold Repair, Refurbishment, or Replacement
Once a tool shows real wear, you face a three-way decision: repair, refurbish, or replace.
Repair, Refurbish, or Replace: The Decision Framework
- Repair when the issue is localized, the mold remains structurally sound, and remaining demand justifies a targeted fix
- Refurbish or rebuild when wear spreads across replaceable components but the base steel and design still meet part requirements
- Replace or redesign when the tool can't reliably hold spec, repair frequency keeps climbing, the part design has changed materially, or forecasted volume exceeds the tool's proven capacity
Toolmaker Basilius frames this well: the decision should weigh accumulated repair costs against future program demand, not cycle count in isolation. A declining program might justify limited patch repairs; a growing one is often the right moment to reassess the tool and part design together.
Data You Need Before Deciding
Pull together:
- Current shot count and forecasted remaining demand
- Part criticality and defect history
- Downtime cost and maintenance spend to date
- Engineering changes and current resin requirements
- Validation needs for any new or rebuilt tool
Protecting Production Continuity
Line stoppages hurt most when nobody planned for them. Before retiring a mold:
- Identify alternate tooling or backup capacity
- Keep critical spare inserts and wear components on hand
- Build in lead time for manufacturing and sampling a replacement
- Schedule qualification runs before the existing tool goes offline
Make sure ownership records, CAD files, steel specifications, inspection reports, and maintenance history travel with the tool. Missing documentation is one of the most common reasons replacement tooling gets delayed.
This is where a manufacturing partner with broader capabilities helps. Midwest Molding, a Bartlett, Illinois-based contract manufacturer, works across injection molding, insert molding, two-shot molding, overmolding, assembly, and welding. That breadth means tooling decisions get evaluated alongside part and assembly requirements rather than in isolation.
The company holds IATF 16949 and ISO 14001:2015 certifications for its molding operations, supporting the documented quality and environmental management programs that replacement planning depends on.
Finally, build a replacement reserve tied to actual production demand and tool condition, not an arbitrary calendar date. Review it annually alongside your maintenance records so the decision is backed by data, not guesswork.
Frequently Asked Questions
Can mold go away over time?
Biological mold and an injection mold are entirely different things. Biological mold can stop growing when moisture is removed; an injection mold is a manufactured tool that wears with use and needs maintenance or eventual replacement.
What does mold growth mean?
"Mold growth" typically refers to fungi multiplying on damp organic material. Injection mold wear, by contrast, means mechanical, thermal, chemical, or abrasive deterioration of tooling during production — a completely unrelated process.
How long does an injection mold typically last?
It varies widely by tool class, steel type, resin, part geometry, and maintenance quality. Rather than relying on a universal number, check your tool-specific shot-count and service records for the most accurate estimate.
What's the best way to extend injection mold life?
Run preventive inspections on a defined schedule, use cleaning and lubrication methods matched to your steel and resin, keep cooling channels clear, and maintain complete shot-count and repair records.
When should a mold be repaired instead of replaced?
Localized, economically fixable wear usually justifies repair. Recurring defects, widespread structural wear, frequent downtime, or hard-to-source components point toward refurbishment or replacement instead.
What should a mold maintenance record include?
Shot count, resin and additives used, process conditions, inspection findings, defects, cleaning and lubrication events, repairs, replaced components, measurements, downtime, and next-service recommendations.